Pages

Wednesday, November 14, 2012

Rose Bowl Flea Market


Wow, what a day!  What a long, exhausting, but exhilarating day! 

flea7

Maggie and I decided a couple months ago that we wanted to be vendors at the Rose Bowl Flea Market.  So we found awesome inexpensive furniture to paint and shabby up, made a bunch of adorable burlap pillows, signs and other cute home décor.  My garage became our storage place and my dining room table our work station! 

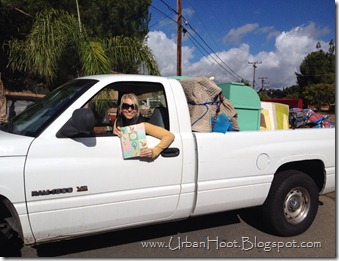
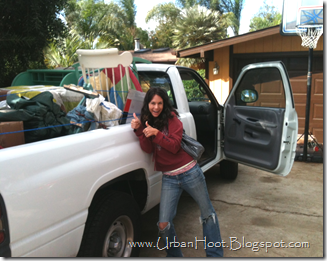
The day before the flea market we loaded up Maggie’s truck and an SUV full of our stuff.  Boy was that fun…NOT!

flea2     flea1

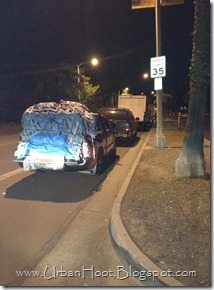
On the morning of the flea market we were up at 2:30 and were in line(with hundreds of other trucks) to get into the Rose Bowl at 3:45am!!!  My husband is in the red SUV on the 1st picture!  What a trooper he was! 

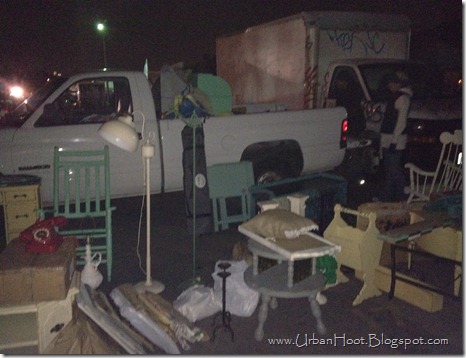
Once they opened the gates at 4:30 we were quickly inside the market looking around in the dark for our spot!  Maggie was driving and I was walking (in the freezing, finger numbing cold) in front of her looking all around for F17. 

flea21         flea22

Having only a little over an hour and a half to set up, we got to work unloading all the items, in the pitch black, without any feeling in our fingers!  Did I mention yet that it was freezing and dark?   Well, it was!

flea3

Once unloaded we began to set up our booth and realized that we had a lot of product to sell!  We moved things here and there and then back again.  Then once the sun was up we moved things around even more now that we could see.  Amazing what a little light can do! 

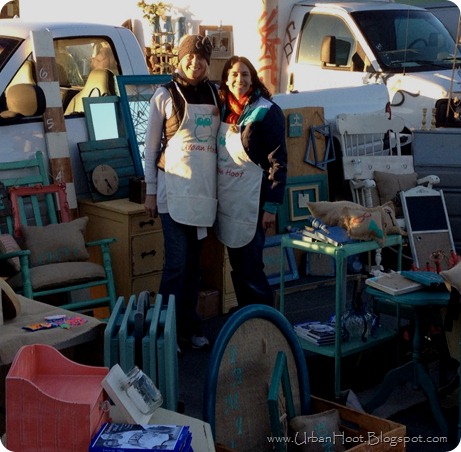
Notice our matching Urban Hoot aprons!  Fun, huh? 

flea13

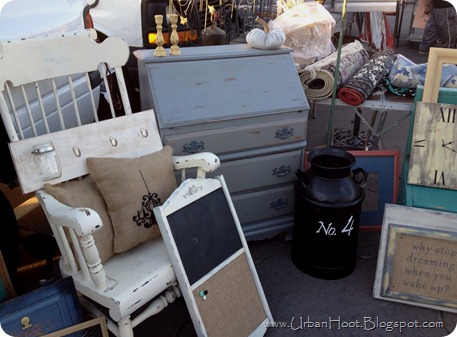
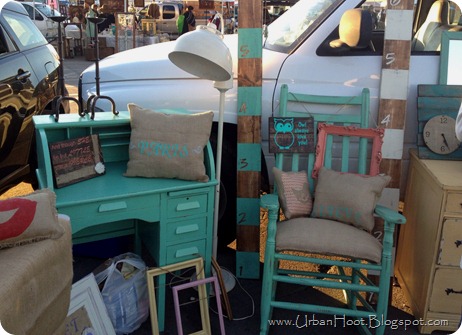
Here are a few up-close pictures of our booth!

flea8  

flea15 

flea14

flea20

flea16      flea17

The response from people was amazing!  We had one guy ask where our warehouse was…ummm…my garage!  We were able to sell over 3/4 of our stuff!  Sweetness…hardly anything to pack up and take back home! 

Yay!  See how empty our booth was at the end of the day?  And, I was quite thrilled we did not sell that yellow dresser or the white lamp cause I really really really wanted them for my house! 

    flea11

After a 17 hour day, 12 of those on our feet, starting in the pitch black freezing cold to ending up with sunburns, the day was a complete success!  We learned so much from our 1st experience at the Rose Bowl Flea Market and can not wait to put that new knowledge to use again!  We are hoping to do 4 events at the Rose Bowl in 2013 and a few at some other flea markets around Southern California! 

Thursday, October 25, 2012

Using hardware, frames, wood, and knobs!


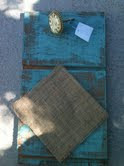
Honestly everyone likes something that is a little different right!  With some great knobs Tara and I came up with some cool ways to use them.  For this project we took our scrap wood, paint, burlap, tiny nails, a close pin and of coarse pick a fun knob!  Be sure to use the sticky spray to make sure the burlap lays down flat.  Drill a hole for your knob.  Nail the burlap down to keep it in place.  Use the glue gun for the close pin!  WOW ~ So awesome right!


I used a Paris clock like knob!  FUN!

This next project is so simple it is silly!  So find an old door from your kitchen,  a thrift store, salvage store, the dump, ect...PAINT it a fun color!  Then find some fun knobs and drill a couple of holes and install your knobs.  Find a frame and use spray paint of what ever color you prefer and be sure to take out the glass.  Use wood glue and press firmly on the door.  Then lastly take a close pin and glue gun it to the door as well!  Now how easy and cute is this!
Lets go ladies ~ surprise your husband and friends with something cool you put together.

Add caption
Last but no least THE NO BRAINER!
Material List: a small piece of wood, 2 screws, paint, some hardware of your choice that has hooks!  Paint up your wood, let dry, and screw your hardware in.  THEN DONE...put it up on your wall and hang your keys from it!

Okay so there you are 3 easy projects for you to do and brag to everyone you know!  
Maggie

Wednesday, October 24, 2012

HOBBY LOBBY FUN!

Hi everyone!  My name is Maggie and  I have just joined Tara's blog Urban Hoot!  I was going to start with her last year but was caught up in a lot of other stuff and never got around to this awesome fun until this fall!  We decided it was time to start taking our passion to the next level.  So we started buying furniture, making some unique projects, and I started going to craft stores.  Something I never would have guessed myself ever enjoying!  I do though...a lot.  So much so that I don't remember having this much fun in a while.  Today we went to Hobby Lobby.  Have you ever been there?  It is like a super Walmart BUT all craft stuff!  If Tara wouldn't have been there I would have been in full panic!  But she was there so I was able to navigate through at a pretty good pace and find some cool stuff.  Here is a few pics of what we found!
WOW KNOBS!  


So many fabrics to choose from!


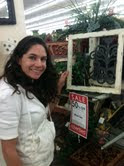
Tara finding some fun treasures!


LOVE this!
Ideas for our future projects!


Hope you enjoyed our fun day at Hobby Lobby!  We will post pictures soon of our projects that we have made so far!

Maggie

Tuesday, June 26, 2012

Take Me Out to the Ballgame!

Baseball, baseball, baseball…that is all that is ever talked about at my house!  My husband and soon to be 8 year old son are obsessed with it.  They love going to watch the Padres, we live in San Diego, and since my husband is still unable to drive I get the pleasure (said sarcastically) of going with them to each game.  Now, don’t get me wrong, I like going to games, mainly cause of the nachos and cotton candy…but I like the option of just sending my boys so I have alone time to craft at home!

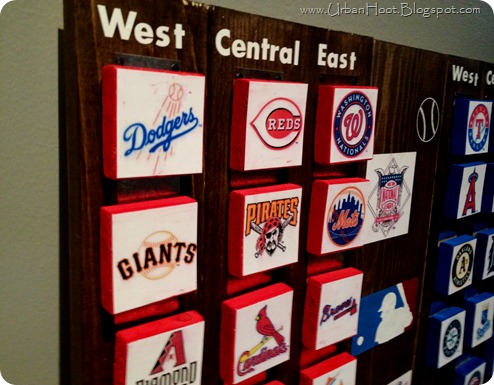
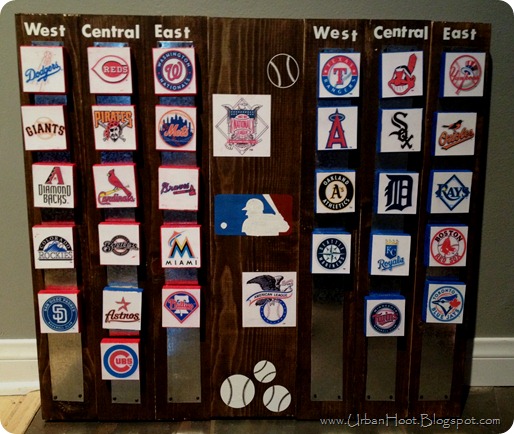
One project for this summer is to redo my son’s bedroom.  He of course wants a sports theme, with an emphasis on baseball!  I saw a sign at Hobby Lobby that had all the MLB logos on it and knew my son would love it!  Instead of buying it, I decided to try and make it.  After showing a picture of the sign to my husband and son, they thought it would be amazing if I could do a sign where they could move the logos around depending on the teams standings.  Oh great…sure, no problem, I can soooo do that!  Yikes!!!

After much contemplation and sleepless nights (no not really) I came up with a game plan, that included many steps, of how to do this interactive sign.  It wasn’t til the sign was complete that I realized what an amazing (if I do say so myself) sign I had designed and made for my son!!!
bball1

Even though this sign took forever, I had a great time making it with my son! 
bball7      bball21

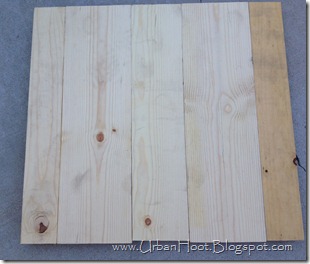
Step 1:  Assembling the wood. 

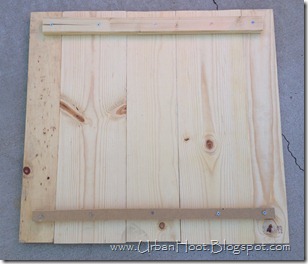
Deciding on the size of the sign took me forever!!!  I, of course didn’t have the exact wood I wanted, so I had to improvise.  I knew the sign had to be quite big to hold all the logos.  So, I ended up putting 5 pieces of wood together to get my sign of 23x27!  Then I screwed on a couple small pieces of wood, on the back, to hold them together.

I used: 2 pieces of 1x8x23 wood, 1 piece of 1x6x23 wood, and 2 pieces of 1x4x23 wood.  I don’t know if you know this but when you buy a 1x8 or whatever size you buy, when you measure the wood, it is actually a lot smaller than what they say.  So like the 1x8 will measure at a little over 1x7!  You learn something new everyday, huh? 

Step 2:  Stain the wood.
bball14     bball16

bball2

Step 3:  MLB Logo.

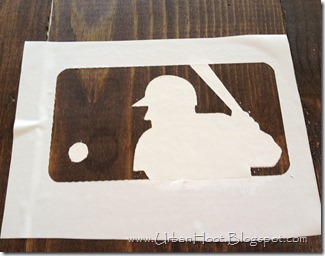
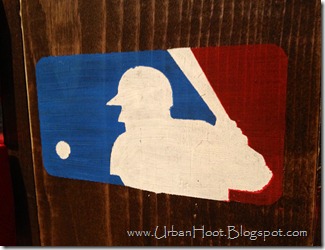
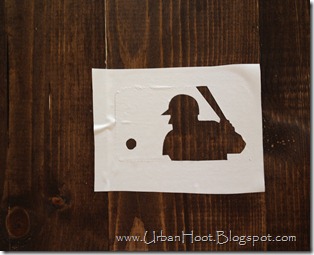
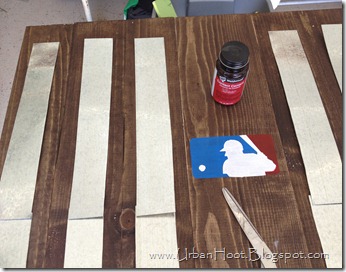
Yay!  I finally figured out how to open a .jpeg in my Silhouette program!!!  So happy!  Once I figured that out, I found the MLB logo and cut it out on vinyl to stencil onto the center of my sign.  First I painted the player white. Then once that dried I put the vinyl back over him and painted the other colors.  I really love how the logo turned out!   
bball9   bball11

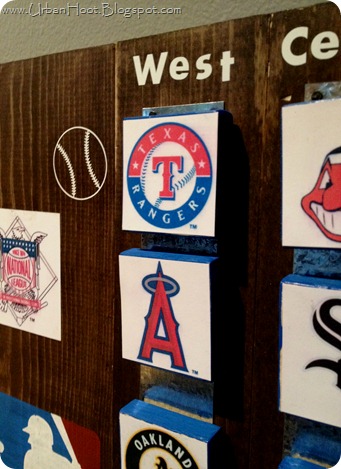
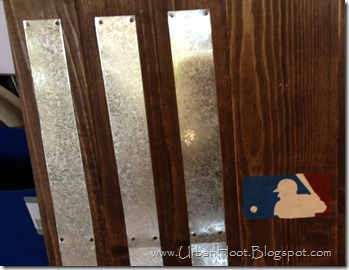
Step 4:  Cutting metal and attaching to sign. 

This was probably the hardest part of the sign, at least the most painful.  My thumb and hand still hurt!  :(  Cutting metal sheets with scissors is not easy, if you know of a better way to cut them PLEASE let me know!  Amazingly enough, I cut them perfectly straight. Yeah right!  But hey … I did my best.   The sheets were not the right length so I had to do 2 on each board.

To attach the strips I used rubber cement, which didn’t work all that well, but I didn’t really need the glue to be great since I was going to nail them into the wood anyway.  I used finishing tacks to hold the metal in place. 
bball13   bball17

bball19   bball10

Step 5:  Team logos on wood squares. 

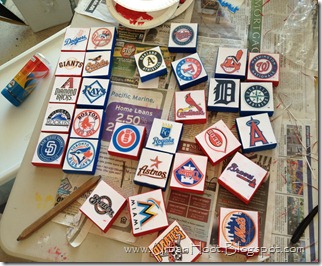
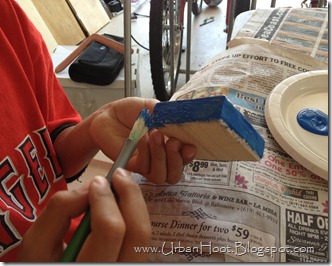
There are 30 MLB teams so we had to cut 30 pieces of wood which we cut at 2.5 x 2.5 to make squares.  Next my son helped me paint the sides of the squares blue for the American League and red for the National League.  If I had to do this over again I would paint the top of the square as well. 

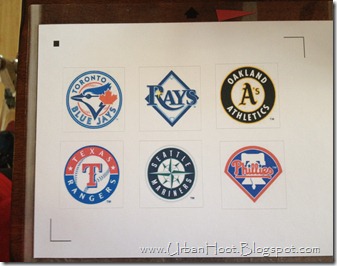
As the wood squares were drying we found all 30 logos and used the ‘print and cut’ feature on the Cameo!  Have I told you how much I love my Cameo?  It is the greatest invention ever!  Hmmm…that may be a little extreme, but it is pretty awesome.  Anyway, back to the logos.  I thought I was SO smart having the Cameo cut the logos for me into perfect squares so I could put them right on top of the wood squares I had cut out.  Smart, right?  Well, it would have been if I had made the squares smaller on the Cameo, but NOOOO, the squares the Cameo cut were too big so I had to use a paper trimmer after all!  Ugh!  Sometimes I wonder about myself!

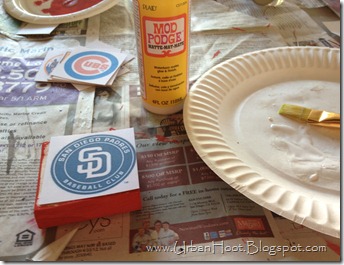
Then I used Mod Podge to attach the logos on the wood squares and then put a couple coats of Mod Podge over the top.  It worked great with the blue paint, but the red paint kept bleeding onto the brush. 

After the Mod Podge was dry my son attached magnets on the back of each team.  Some of the magnets aren’t sticking very well to the wood, so I will probably have to go back and glue them on.
   bball3

Step 6: Adding the final touches.

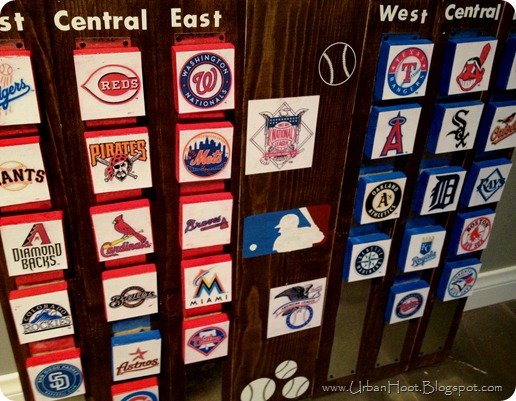
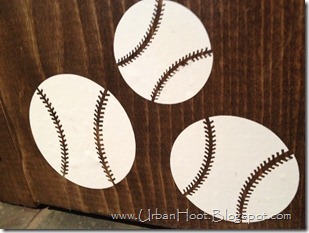
The center needed a little more, so using the Cameo I cut out 3 different sizes of baseballs on vinyl.  I then used the ‘print and cut’ feature on the American and National League logos which I then attached with Mod Podge.  Oh and last but not least cut out the words WEST, EAST, and CENTRAL to signify the different divisions in each league. 
 

bball22


bball4


bball6

How fun is it that the teams can be changed around depending on their standings? 

This took a lot of time and effort, but it was totally worth it to have my son tell me that it is even way better than he had hoped for! 

Once his room is done, I will post a pic of it on his bedroom wall. I can’t wait to show you more things I am working on for his sports themed bedroom! 

Any boy, big or small, would love to have this MLB standings sign!

Linking up at these amazing sites:

      The 36th AVENUE   shabby creek cottage


Whipperberry        Photobucket    Visit thecsiproject.com


Weekend Bloggy Reading    Chic on a Shoestring Decorating       http://www.findingfabulousblog.com/


   Blissful and Domestic        Catch a Glimpse Button


     SixSistersStuff.com        Positively Splendid


     Home Stories A2Z   Tip Junkie handmade projects


http://www.skiptomylou.org/2012/07/02/made-by-you-monday-107/